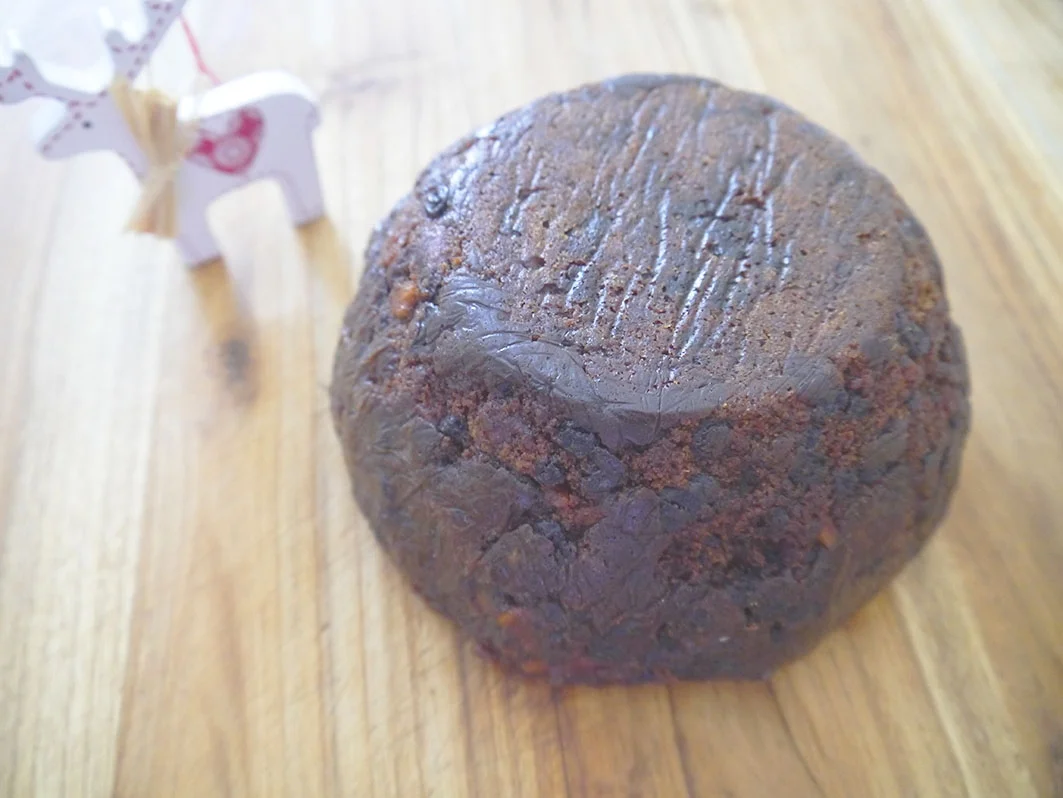
Christmas Pudding - Gluten & Suet Free

Making a traditional Christmas Pudding takes an extraordinary amount of time, but I never regret it. It's a treat I only ever enjoy on Christmas Day (bar the odd accidental-eating of any leftovers that happen to still be in the fridge...), and I grant myself that without apology. There are, however, many of us who can't even have the smallest amount of gluten without becoming terribly ill, and even as a special-occasion food, for those people traditional Christmas Pudding is a no-go.
I'm hoping with bated breath that I have a solution to that. This recipe is gluten free, suet free, and is actually refined sugar free as well - however it does contain a mammoth amount of natural sugars from the fruit, plus a large amount of coconut sugar, so I won't lean on that little boon too much.
The best news is that you needn't worry that Christmas is approaching and you haven't begun your pudding - this version isn't going to need a lot of 'maturing' time, and honestly, I'd say you could make this just a few days before and still have a lovely result.
This is a trial recipe and, obviously, I'm yet to actually try the finished product - I'll certainly have an update for you on the big day in a few weeks' time, but in the interim, I can say that the pud is holding a beautiful shape, albeit a little on the sticky side, and the batter was so absolutely delicious that I may or may not have licked everything dry amidst the cooking process. All positive signs that we'll have a beautiful gluten free dessert on Christmas Day.
Cooking Time: 6 hours, plus an extra 1-2 hours on Christmas Day
Serves: Approx. 8
Equipment
- 5-cup pudding basin/tin (standard size)
- Electric mixer
- Baking/parchment paper
- Aluminium foil
- Kitchen string
- A large, deep saucepan, wide and tall enough for your pudding basin to comfortably fit in, ideally with a lid
- A small plate/saucer that will fit in the bottom of your large saucepan
- Plastic wrap
Ingredients
- 375g dried fruit of your choice (I used equal portions sour cherries, currants and raisins)
- 1/3 cup brandy (the alcohol will evaporate during cooking)
- 100g melted, good quality unsalted butter, plus extra to grease
- 1 cup firm-packed coconut sugar
- 2 eggs, at room temperature
- 5-6 medjool dates
- 1/2 cup activated almonds, roughly chopped (activated is optional)
- 1 cup gluten free plain flour
- 1/2 tsp gluten free baking powder
- 1 tsp bicarbonate of soda (baking soda)
- 1 tsp mixed spice
- 1 tsp ground nutmeg
Method
1. A week before cooking (or at least a day before, if you don't have that long): Combine the dried fruits and the brandy in a sealable container. Mix well and set aside to soak.
2. A day before cooking: Place dates in a bowl of water to soak overnight.
3. The day of cooking: Grease your pudding basin with melted butter. Cut a small circle of baking/parchment paper and place at the bottom of the basin (see below).
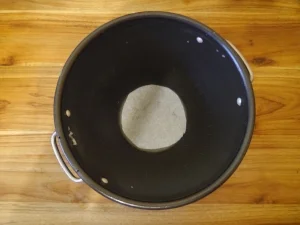
Step 3: Lined pudding basin
4. Drain the dates and remove the pits. The flesh should be soft, almost like the consistency of jam (if not, blitz in a food processor for a few moments). Measure out 1/4 cup of the date flesh.
5. Using an electric mixer, combine the 100g butter and coconut sugar until creamy. It won't cream up in quite the same way white sugar will, but it still lighten in colour after a few minutes, and will have the look and consistency of melted chocolate.

Step 5: Creamed butter and coconut sugar
6. Add the eggs one at a time, beating lightly after each one.
7. Fold in all remaining ingredients. Spoon into your prepared basin, and ensure the pudding has a level surface.
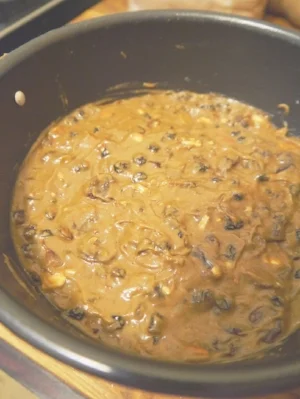
Step 7: Pudding ready to boil
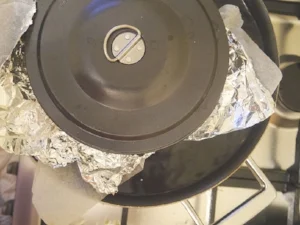
8. Prepare a seal for your pudding. This step is an important one, as if you don't adequately seal your basin and water gets in, you'll be left with a soggy, inedible pudding. It's better to over-seal and be 100% sure. I sealed mine by using a square of baking/parchment paper, topped with a square of foil, folding a pleat in the middle so it fits comfortably over the round tin, then securing tightly with kitchen string. I then placed the lid of the pudding basin over the top for extra good measure.
9. Once the basin is sealed, place your small saucer or plate upside down in the bottom of your large saucepan, and rest the pudding basin on top. Fill the saucepan with water, as high up the sides of the pudding basin as you can. Remove the pudding basin, put on the lid if you have one and bring to the boil. Carefully return the pudding basin back on to the saucer and allow to boil for 6 hours, topping up the water as required (every hour or so).
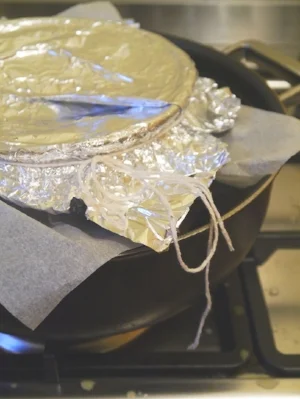
Step 8: Ensuring a tight seal on your pudding basin
Step 9: Fill the saucepan with water so it reaches as far up the basin as possible
10. Once the boiling time is finished, remove the pudding basin from the saucepan and carefully remove the seals. Check if the pudding is finished by inserting a skewer in to the middle - if it comes out more or less clean, the pudding is finished (I'm finding this is quite a sticky pudding, so there may be a crumb or two, so don't get too hung up about it). Use a spatula to guide the pudding away from the basin-sides, and upturn on to plastic wrap. Tightly wrap up your pudding, and return to the basin. Store in the fridge until Christmas Day.
11. On Christmas Day, I find the best time to start the pudding's second boil is just before all sat down to eat the main meal. It needs 1-2 hours to fully heat through, which is quite a good amount of time for everyone to eat, plus a bit of time to digest before the pudding is ready to serve. Seal the pudding (nice and tight!) and re-boil in exactly the same manner as the first time, just not for as long.